
Reliable structure: use grenade or Flamethrower pressure before the choke, Cannon/Gunner/Laser through the occupied lane, and Tesla Coil behind the main line. Mortar is valuable when its knockback holds traffic instead of throwing it past another defense.
Tower roles at a glance
| Tool named in current guides | Primary job | Placement test |
|---|---|---|
| Gunner / Machine Gun | Dependable sustained damage | Its firing line should stay on occupied ground after the first group passes. |
| Cannon | Heavy penetrating lane damage | Aim down the longest packed segment, not across its narrow width. |
| Mortar | Area pressure and knockback control | Confirm that displaced orcs move into damage, not beyond it. |
| Flamethrower | Front pressure and damage setup | Place it before the main damage line and keep traffic inside the cone. |
| Tesla Coil | Fast 360-degree cleanup | Move it back until it spends most attacks on separated survivors. |
| Laser | Terrain-dependent lane and gate damage | Use flat walls and visible repeated crossings; do not trust a decorative-looking line. |
| Grenade / smoke support | Slow and damage setup in community routes | Put it before the damage zone, where extra time benefits every later tower. |
Cryo Beam is treated as an active tool
Current achievement guides group Cryo Beam with clickable abilities rather than ordinary placed towers. It belongs in emergency-control and achievement loadouts, not in a table claiming a complete tower roster.
What each tower is good at
Gunner: the reliable baseline
plant4 describes Gunner as fast-firing, dependable damage that can clean up remnants and still contribute meaningfully to the horde when upgraded. It does not need a special wall bounce or delayed impact, which makes it a useful control case when a more exotic layout keeps failing.
Cannon: line up the penetration
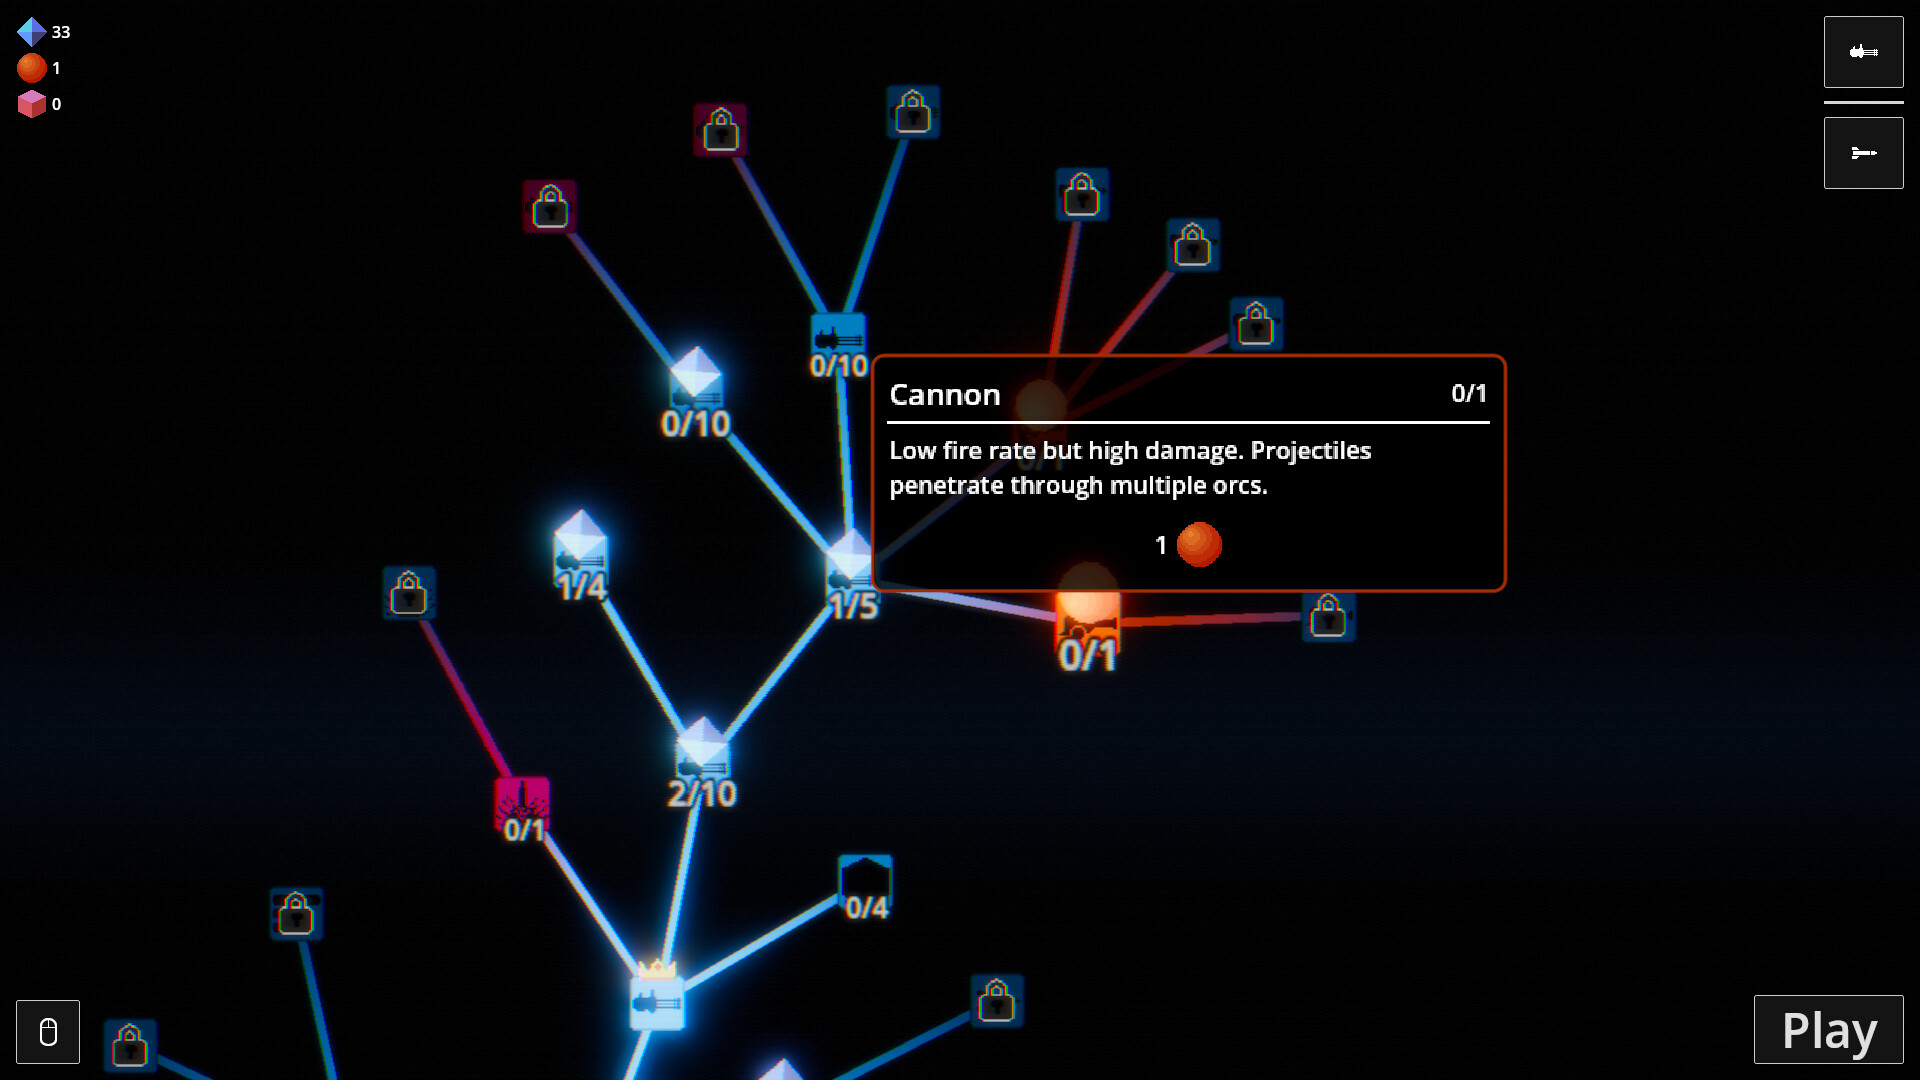
Cannon has the clearest official description of any individual tower. The current store screenshot calls it low fire rate, high damage and says its projectiles penetrate multiple orcs. That description explains the placement rule: fire through a column of enemies so one slow shot can keep finding targets.
Mortar: powerful control with a downside
The release guide values Mortar's knockback for closing smaller chokes and forcing more traffic toward the main damage. The same guide warns that careless explosions can push enemies in the wrong direction. Treat the impact point as route control, not just an area-damage circle.
Flamethrower: setup before finish
Flamethrower is the most disputed tower in current discussions. Its consistent role across achievement routes is front pressure: weaken or prepare the dense crowd, then hand the survivors to direct lane damage and Tesla cleanup. The dedicated Flamethrower guide covers the “OP” debate and four Flamethrower combinations.
Tesla Coil: keep it behind the fight
plant4 calls Tesla the strongest cleanup option because of its fast attacks, chaining and 360-degree coverage. The same guide reports much worse Level 6.2 results when Teslas were moved closer to the front. Its range is flexible; its job should remain specific.
Laser: geometry is part of the build
Laser can create repeated gates across narrow spaces, but plant4 warns that slanted terrain often contains irregular flat sections. Inspect the complete preview path. Range by itself is not proof that the beam will cross the horde where you expect.
Build the kill box in five passes
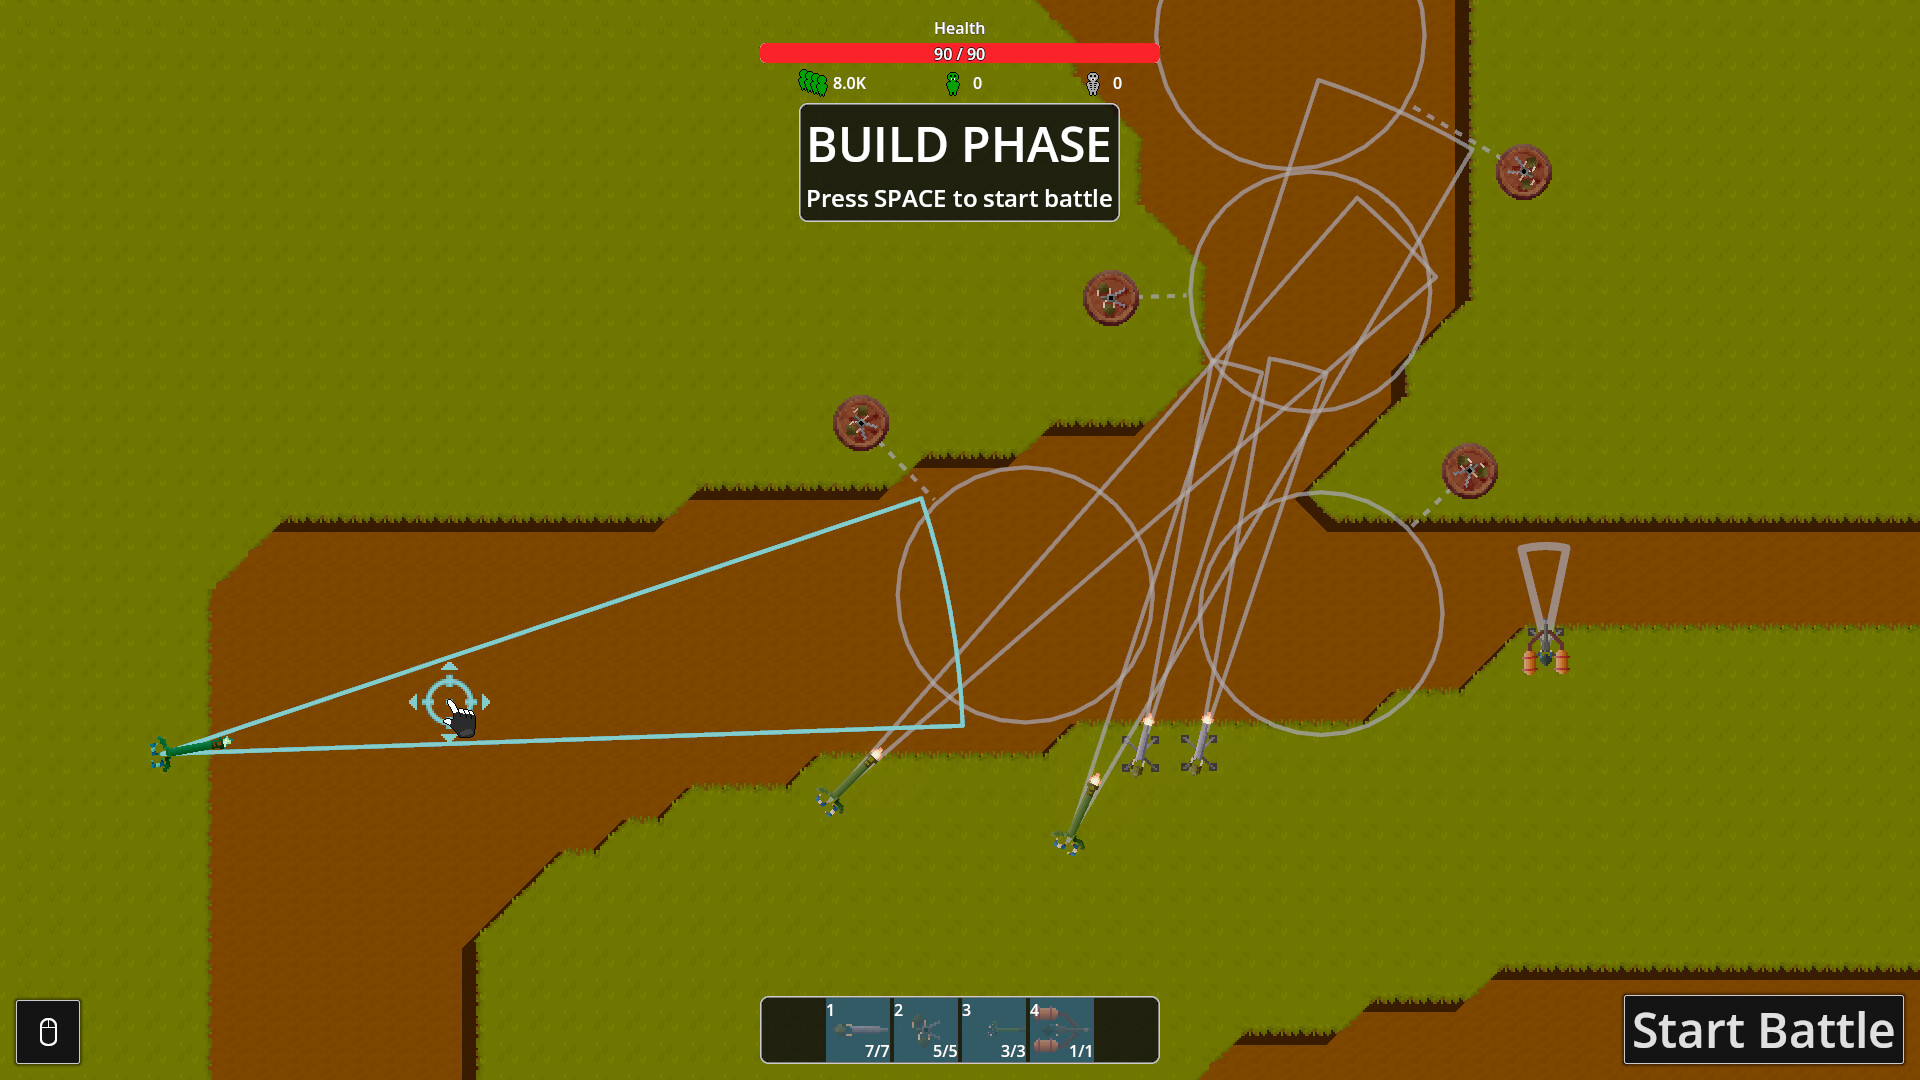
- Find compression. Choose a corner, narrow gap or route merge where more orcs occupy less space.
- Prepare the crowd. Put slows, smoke/grenade support or Flamethrower pressure before the highest damage.
- Fire through traffic. Aim Cannon and Gunner down the flow; make Laser cross the route repeatedly.
- Separate cleanup. Keep Tesla coverage behind the main line so it sees the survivors.
- Read the shape of failure. A full-lane collapse needs power or control; isolated leaks need cleanup.
So what are the best towers?
In plant4's personal ranking, Tesla, Cannon and Machine Gun occupy the top three, with Laser next. That list is useful as one experienced player's release-build preference, not as an objective table. The same guide's comments include players who value Mortar and Flamethrower much more highly, especially in tight corridors or support-heavy setups.
The defensible answer to “best tower” is therefore role-based: Tesla for flexible cleanup, Cannon for packed straight lanes, Laser for cooperative walls, and Flamethrower or grenade effects for preparing the kill zone. Upgrade strength and map geometry can change the order.