
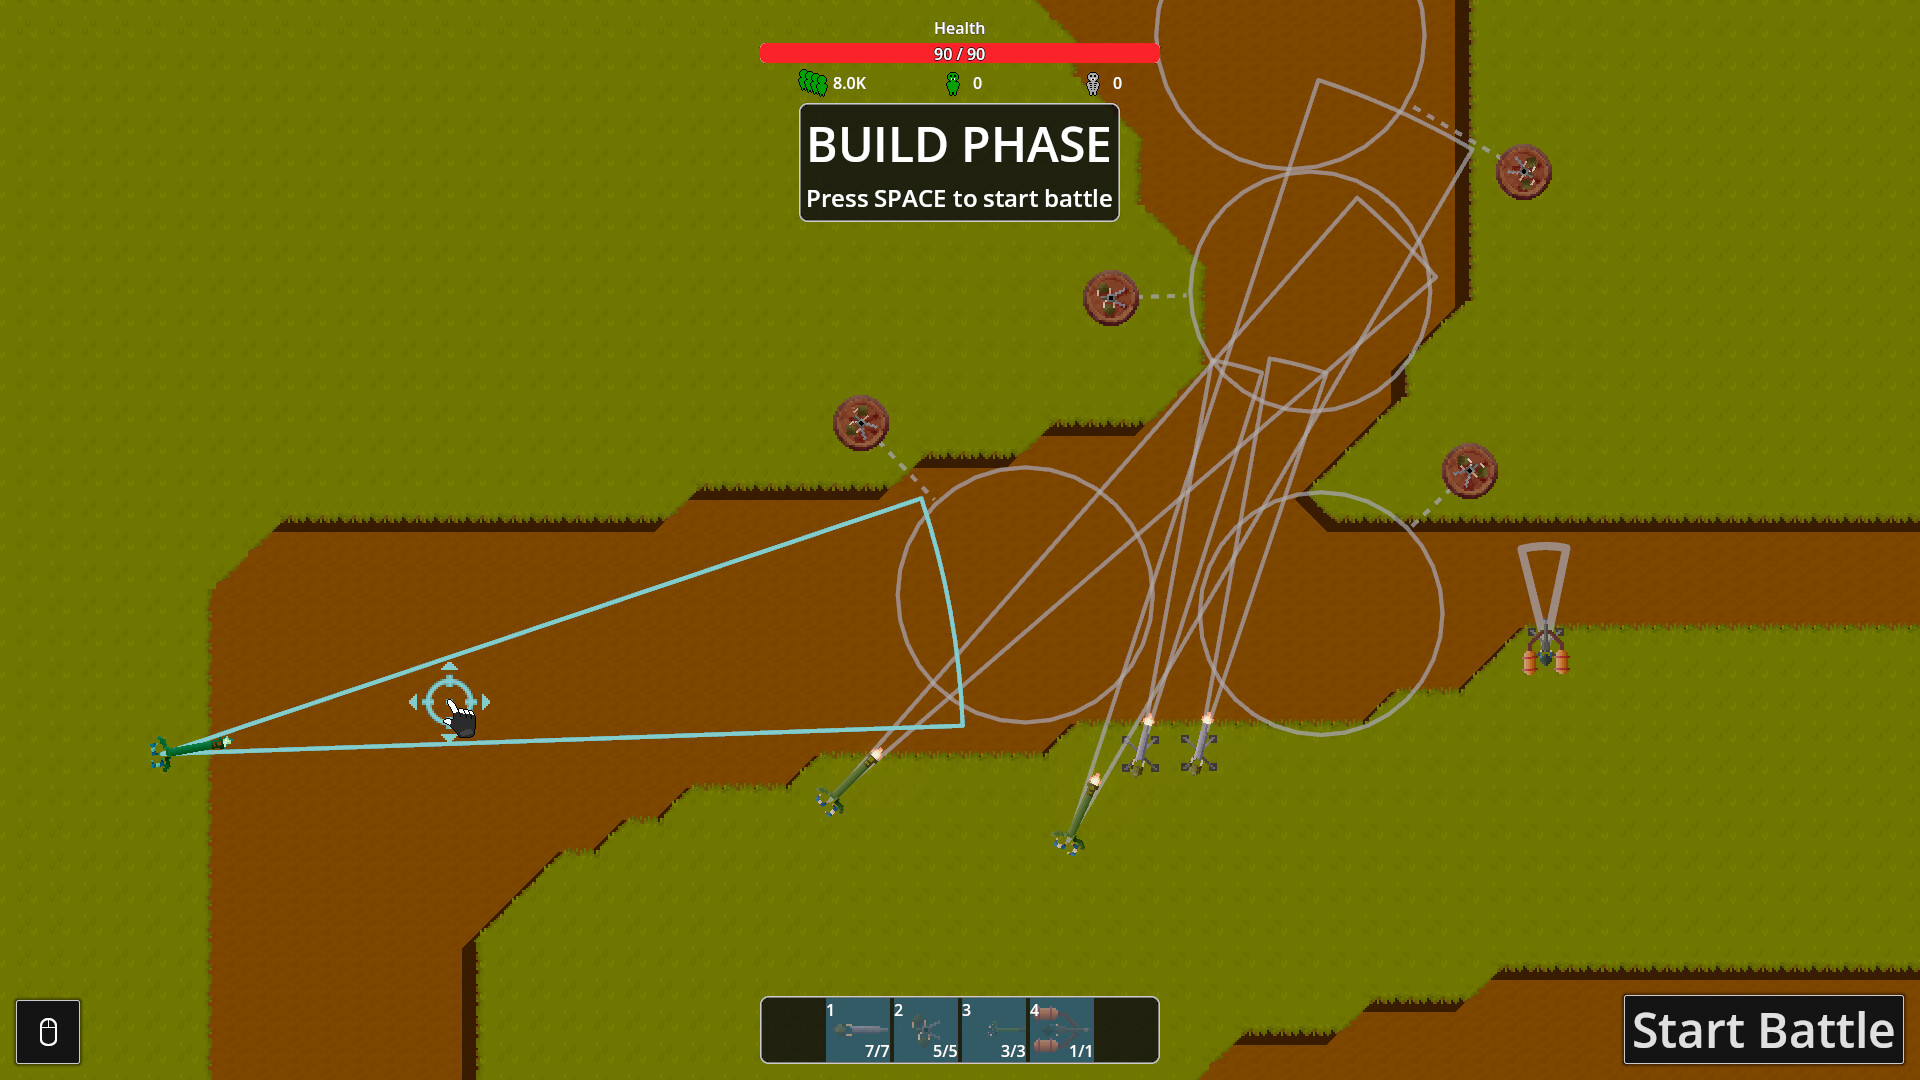
Two community builds: Flamethrower + Tesla Coil + Laser is the placement-specific route shown below. Cannon + Gunner + Tesla Coil is a separate release-guide alternative that trades Laser geometry for direct lane damage.
What Triple Threat actually requires
The official achievement description is short: survive Level 5.1 with only three types of towers and no abilities. The safe interpretation used by both published routes is to choose three tower types, place no fourth type, and never touch an active ability during the run.
The restriction concerns tower variety, not a three-tower total.
One improvised placement breaks the three-type restriction.
The wording does not require a damageless clear.
A rescue click contradicts the no-ability condition.
Route A: Flamethrower + Tesla Coil + Laser
itsuno's release guide uses Flamethrower to prepare the crowd, Laser to carry the lane damage and Tesla Coil to catch stragglers. The author calls Laser placement important, points to the Flamethrower bonus-damage upgrade and says Tesla placement matters for inevitable leaks. The guide also states that its challenge layouts assume a nearly completed skill tree.
- Confirm upgrade readiness. This is not presented by its author as a low-tree build.
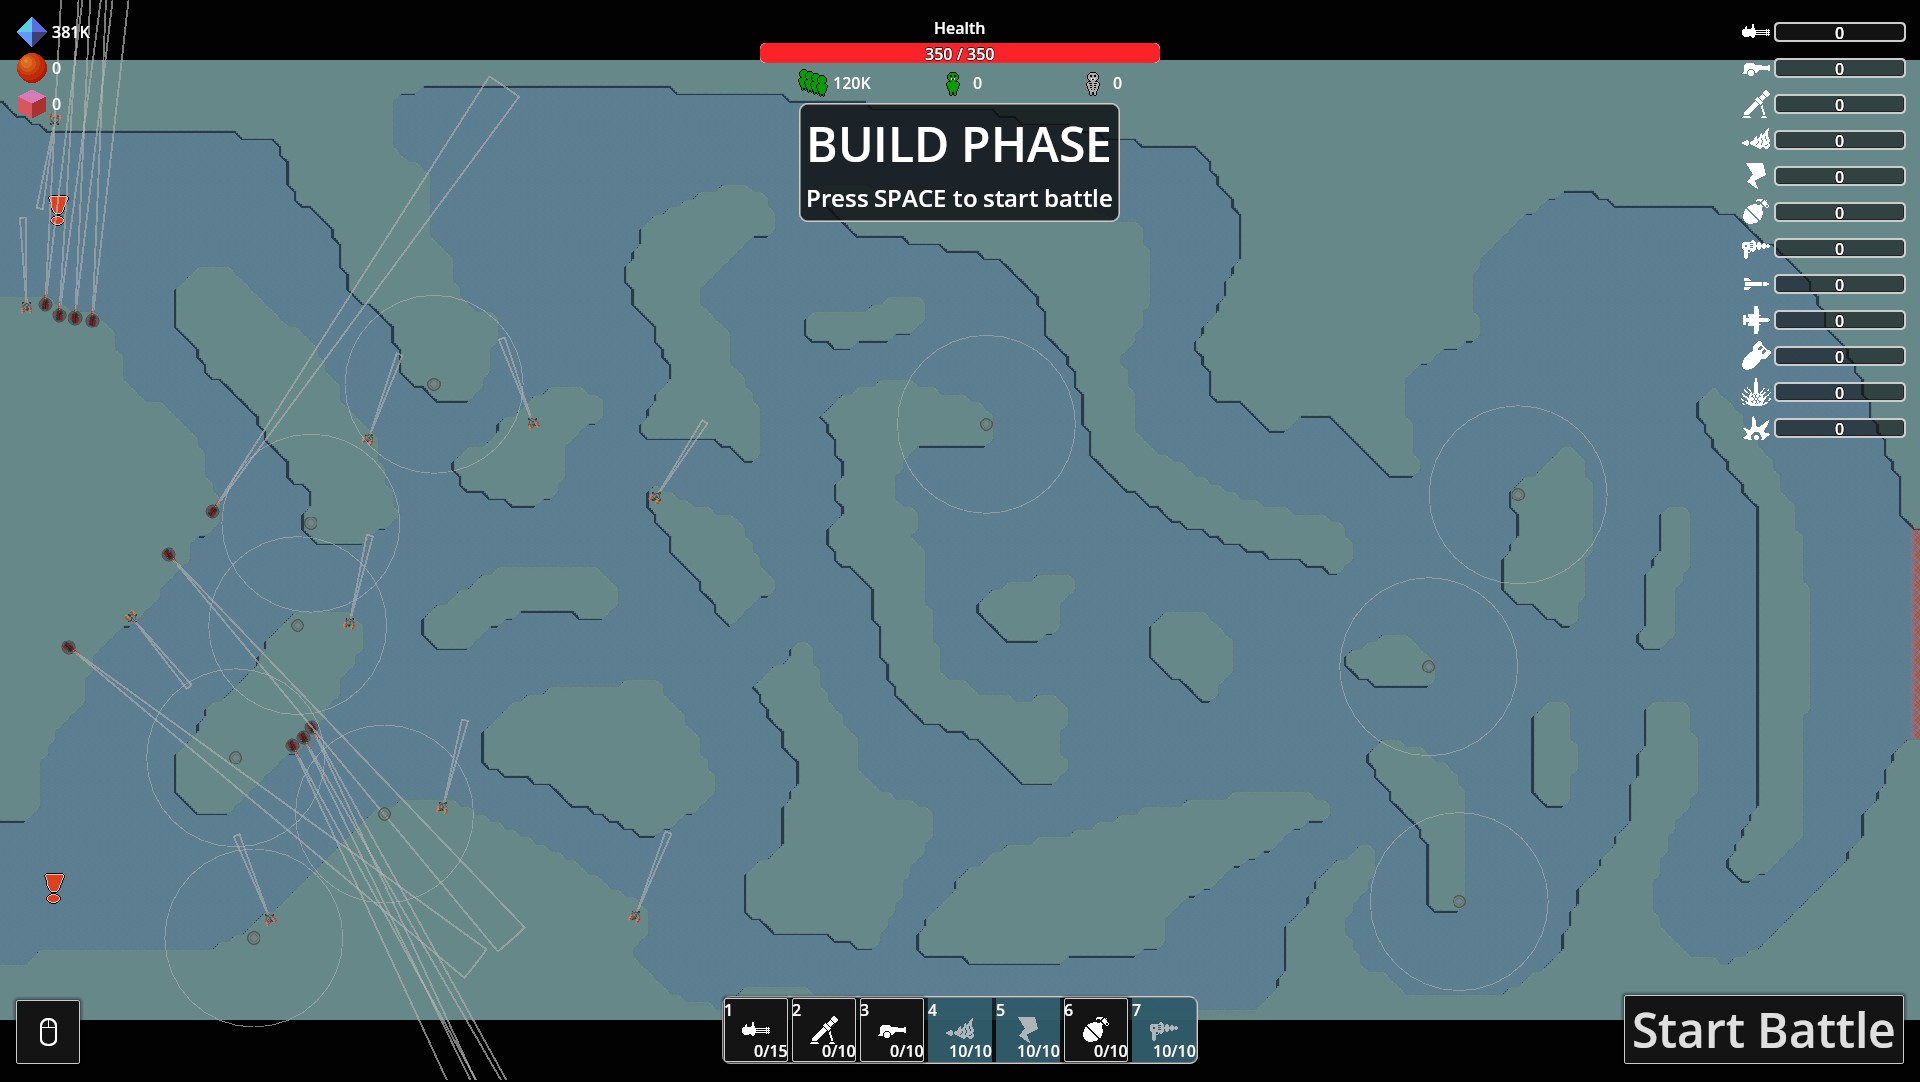
- Set the Laser paths first. The screenshot makes every projected line visible before battle; copy the geometry, not just the tower count.
- Put Flamethrower pressure ahead of cleanup. Its job is to prepare the crowd before survivors reach Tesla coverage.
- Keep Tesla for separated targets. Do not let every Coil spend its attacks on the untouched main mass.
- Retry without changing the roster. If the build narrowly leaks, adjust angles and rear coverage before introducing another type.
Route B: Cannon + Gunner + Tesla Coil
plant4 documents a different 5.1 clear: Cannons and Machine Guns suppress the main horde while Tesla Coils clean up. The author specifically avoids relying on Laser because the entrances do not provide the bounce behavior used elsewhere. This is a useful fallback when your Cannon and Gunner branches are stronger than Flame and Laser.
| Type | Job | Placement test |
|---|---|---|
| Cannon | Thin the dense stream with penetrating lane damage. | Aim along the longest occupied segment, not across a narrow slice. |
| Gunner / Machine Gun | Supply dependable sustained fire between heavy shots. | Its arc should remain on the route after the first group passes. |
| Tesla Coil | Catch isolated survivors after the main line. | Move it rearward if it keeps targeting the packed front. |
Diagnose the failure before changing builds
| What you see | Likely weak layer | First adjustment |
|---|---|---|
| The full wave crosses together | Main lane damage | Correct Laser bounce or rotate Cannons down the flow. |
| A few isolated orcs leak | Cleanup | Move Tesla coverage deeper and spread overlapping ranges. |
| Fire route falls short everywhere | Permanent upgrades | Farm normally and return after improving the relevant branches. |
| The clear succeeds but no medal appears | Restriction | Check for a fourth type or an ability used during the attempt. |
| One attempt passes and the next leaks | Small positional or crowd variance | Adjust the first confirmed leak rather than rebuilding the map. |
The upgrade tree still matters
The guide author used a nearly completed upgrade tree. Matching every visible tower may still fall short when the same branches are less developed.